There’s nothing greater than going out in the great outdoors. It invigorates the mind, the heart, and the soul. Some call it landscape or outdoor photography when they capture nature’s beauty in four corners. I call it a portrait of Mother Nature.
The environment presents a vast array of colors. It may be green, pink, violet, or blue. Name it. Planes and slopes make up the native architecture. Aside from being mesmerized by the scenes, you can seal the deal by freezing the moment using your camera. If you love Mother Nature, then this type of photography is for you.
I gathered some how-to tips to help you achieve that “portrait” you desire.
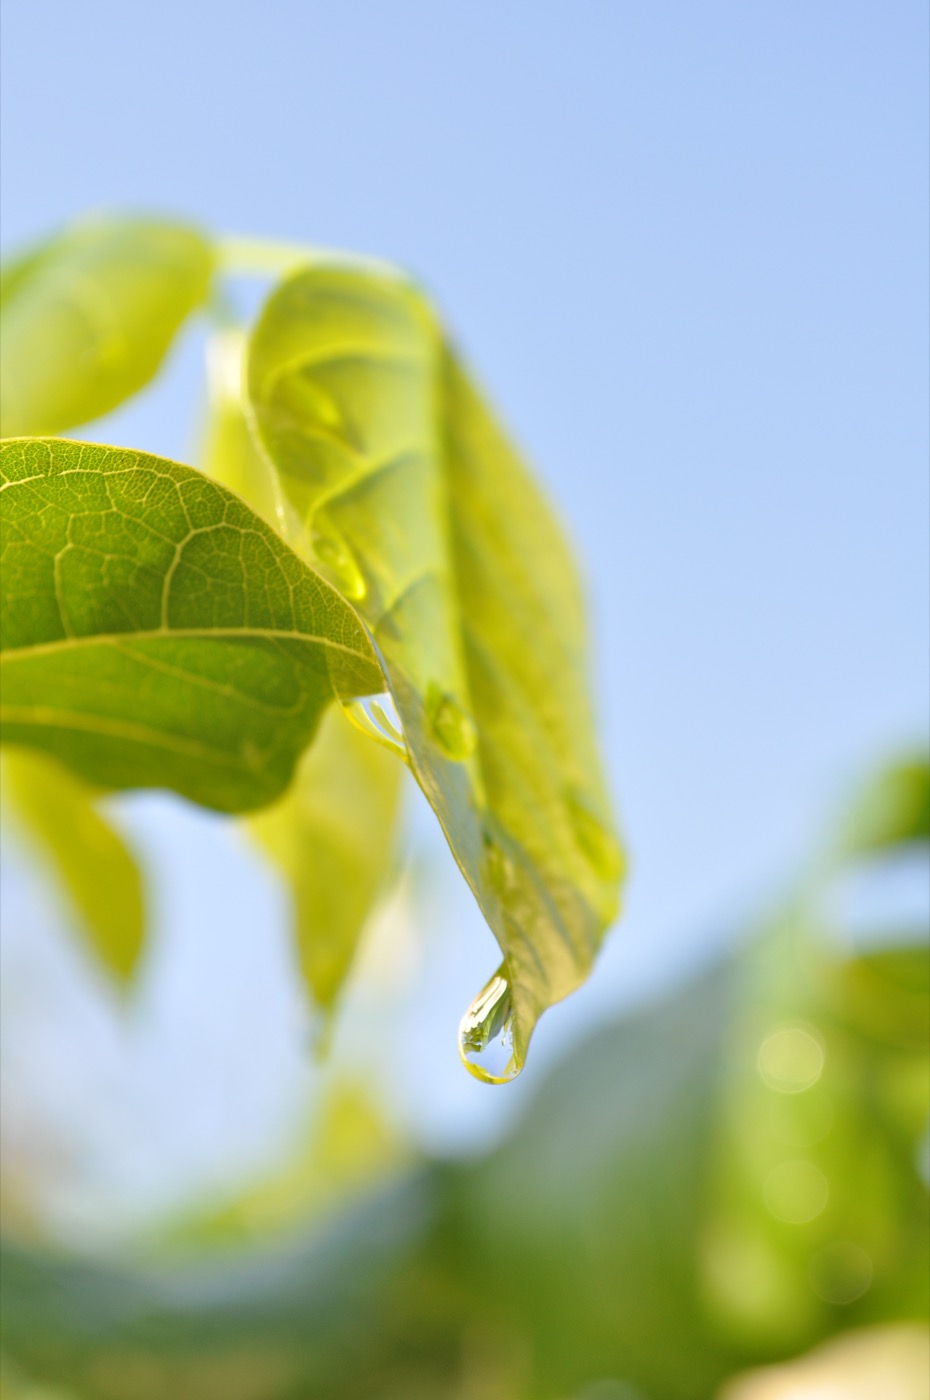
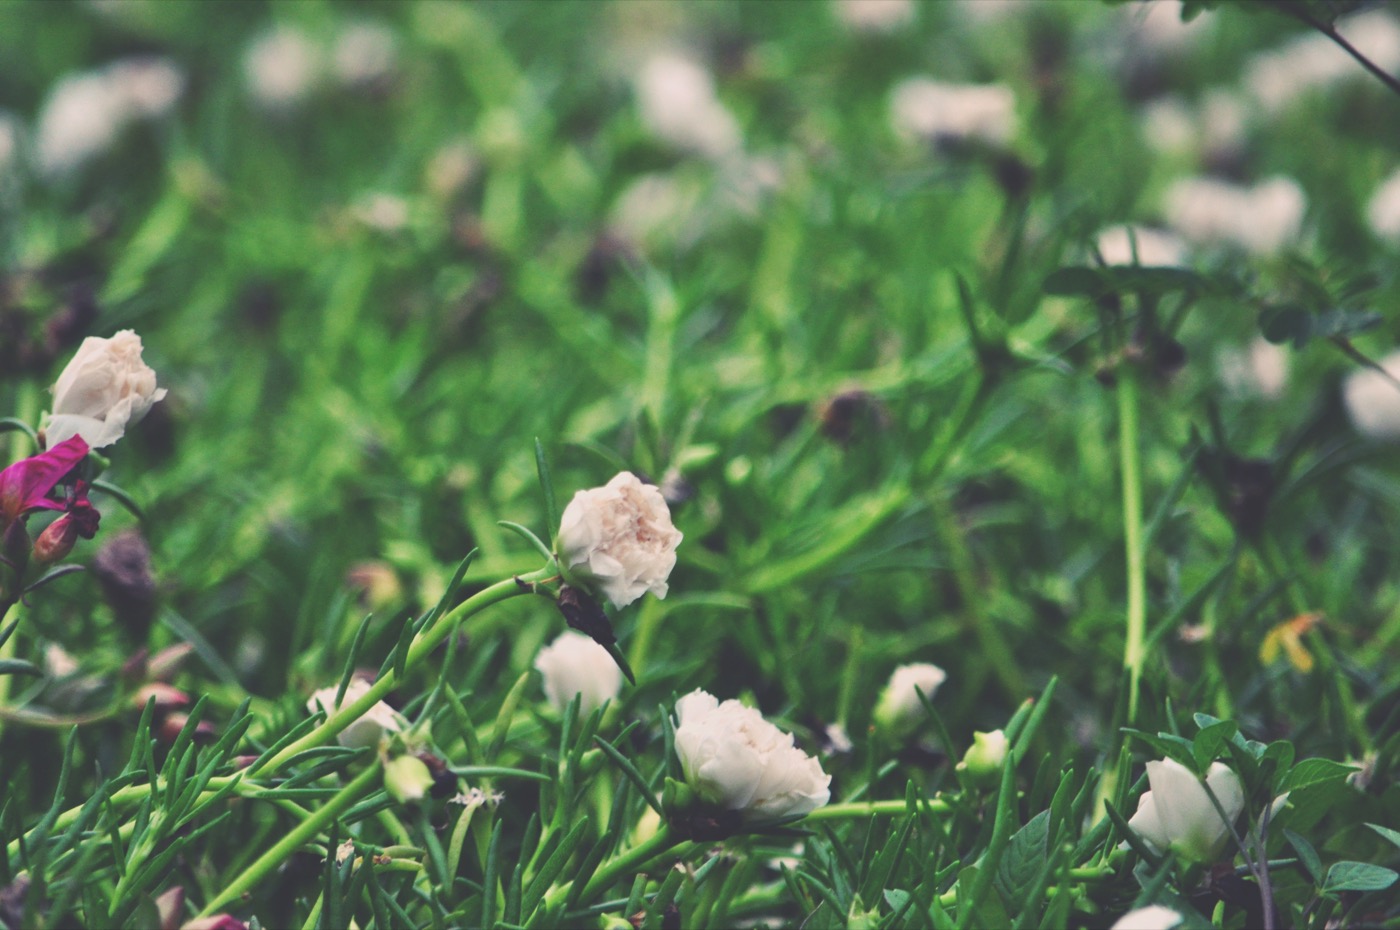
The focal point here is the falling dew. It swiftly transitions to blur other elements in the photo.
Find your focal point
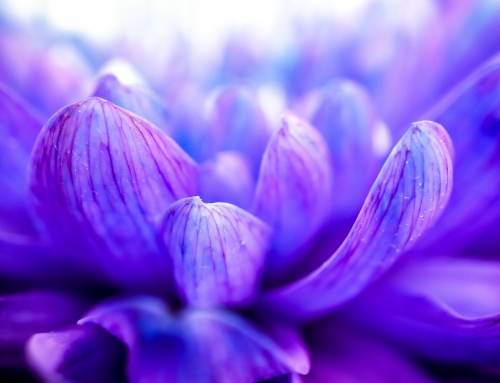
There are a lot of interesting subjects when you shoot outdoors. Find a scene or a subject that could become your focal point. It means that this point is the most highlighted among all factors in the photograph. It makes your viewer understand the most important part. If you’re shooting flowers that have the same color except one, then you can make that lone one the focal point. In order to have substance in your photo, never forget to find your focal point.
A different pop of color definitely makes a huge impact.
Green and other colors
We all know that green is the dominant color of nature. It is beautiful, but you can add extra kicks with other pop of colors. Blue hues such as the ocean or the sky are a good pair when they’re side by side the horizon. A jolt of yellow could brighten up any photograph; photographing a sunflower or a yellow insect. If you’re in a situation where green is the most dominant color, then photograph the scenery by capturing different hues of green. This way, there may be a gradation on your photo.
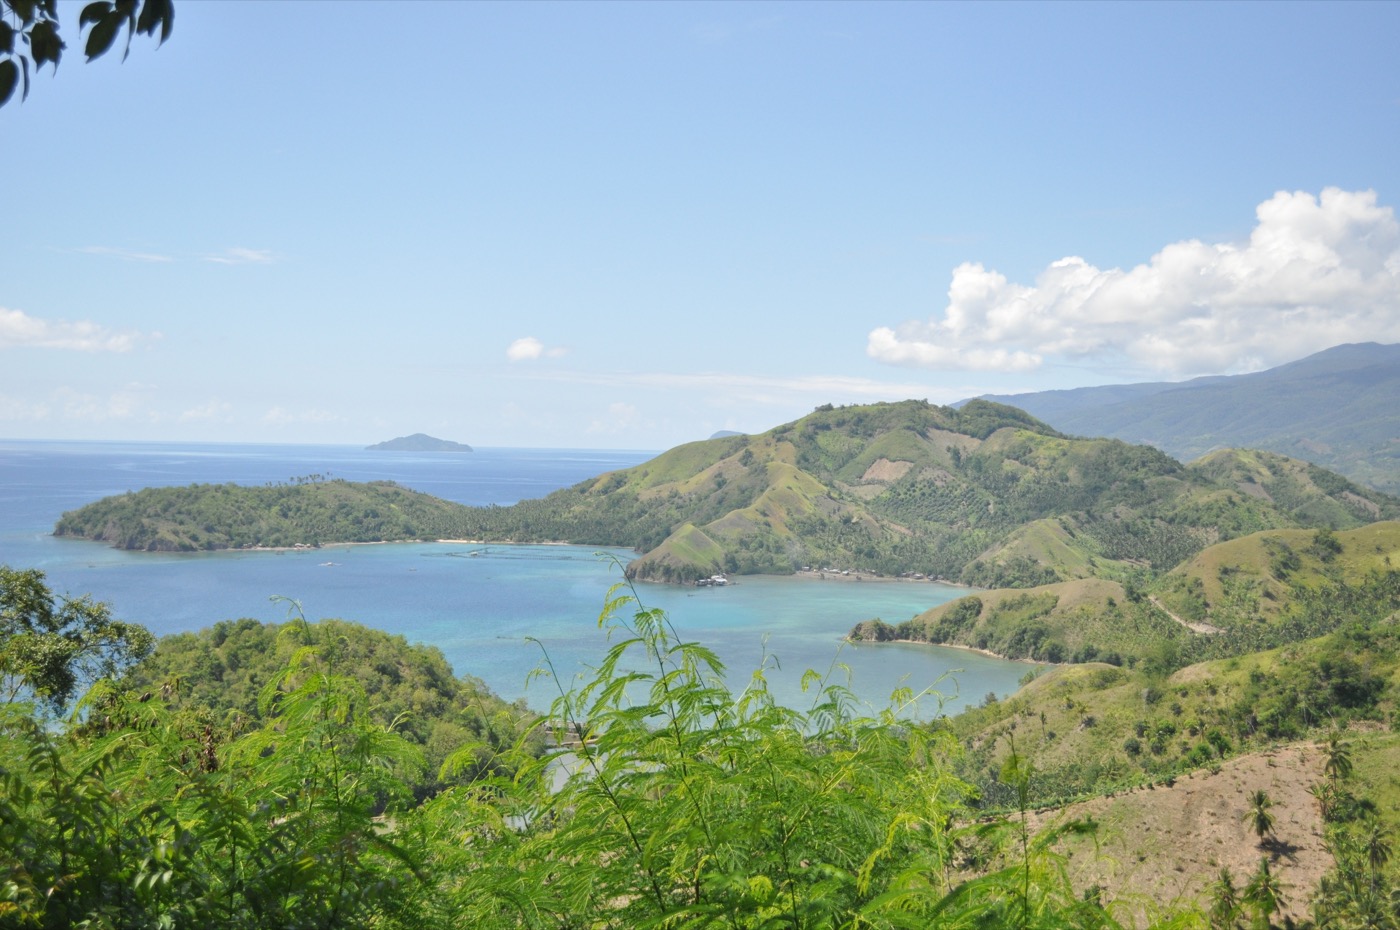
Shooting in the day can give you an even light. In this photo, the sun brought out the mountain’s curves and shades.
Maximize Depth of Field
If we go specifically to landscape photography, then it would be sensible to maximize your depth of field. Depth of field may determine the focus of your subject. Capturing an all out scenery requires a deep depth of field. This means that almost all of the elements in the frame are focused and not blurred out. You can also maximize your depth of field when capturing a specific subject. The higher your focal length, the more focused the subject will be. This can absolutely tell the viewer the specific focal point.
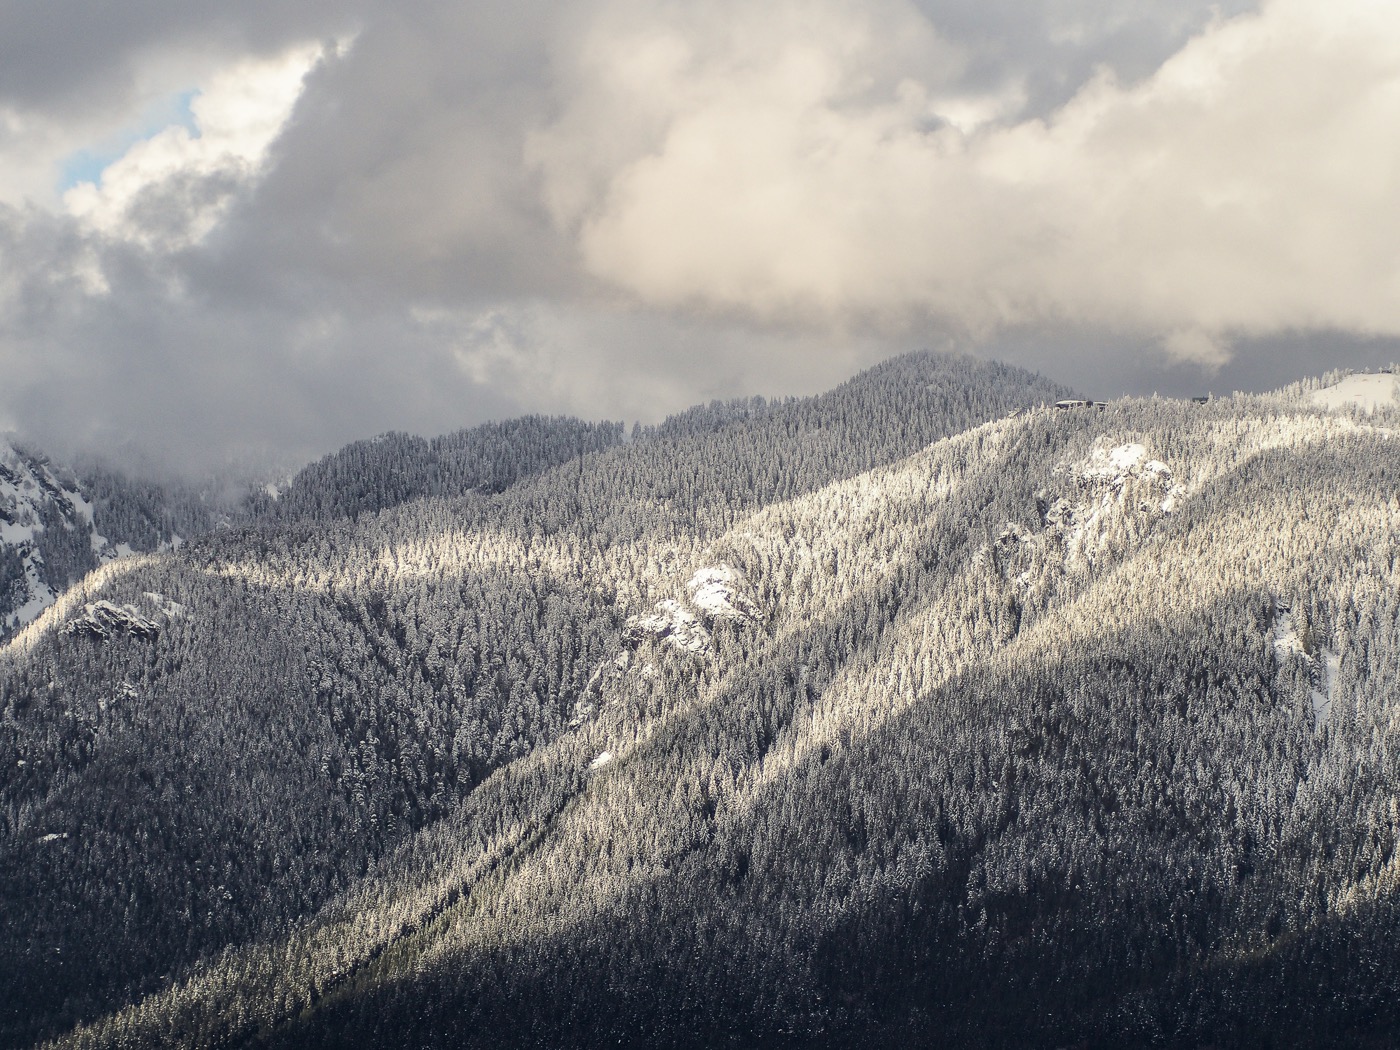
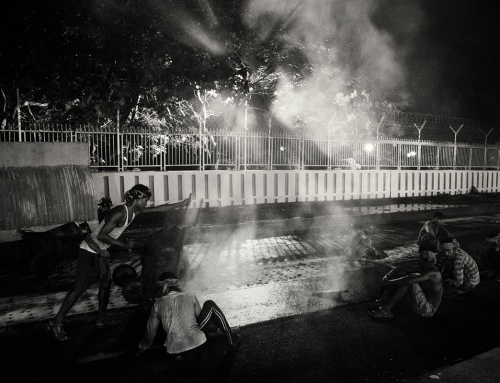
I shot this distant subject at 200mm. Even at this distance, make sure that the image is crisp and sharp.
Sharpness is key
Everyone definitely loves a sharp photo. Taking nature shots must not fall short of sharpness, because this translates the image from reality to frame. If the subject is textured or accentuated in shape, show how it really is. Depth of field comes to play in this case. Maximize and determine the right depth of field for the right sharpness. If the DOP is too shallow for your subject, there will only be minimal focus. As what I’ve learned, the sharpest is at F/4.0-5.6. Depending on what you’re trying to capture, you can go higher or lower. When you’re not so sure, you can always go back to determining your focal point.
Lastly, enjoy and explore! The great outdoors is one of the best places to practice your photography skills. Nature shots belong to this avenue. Don’t forget to share it as well with your SlickPic community. Portraits of Mother Nature help spread the world about her beauty and the importance of protecting her for the next generations.
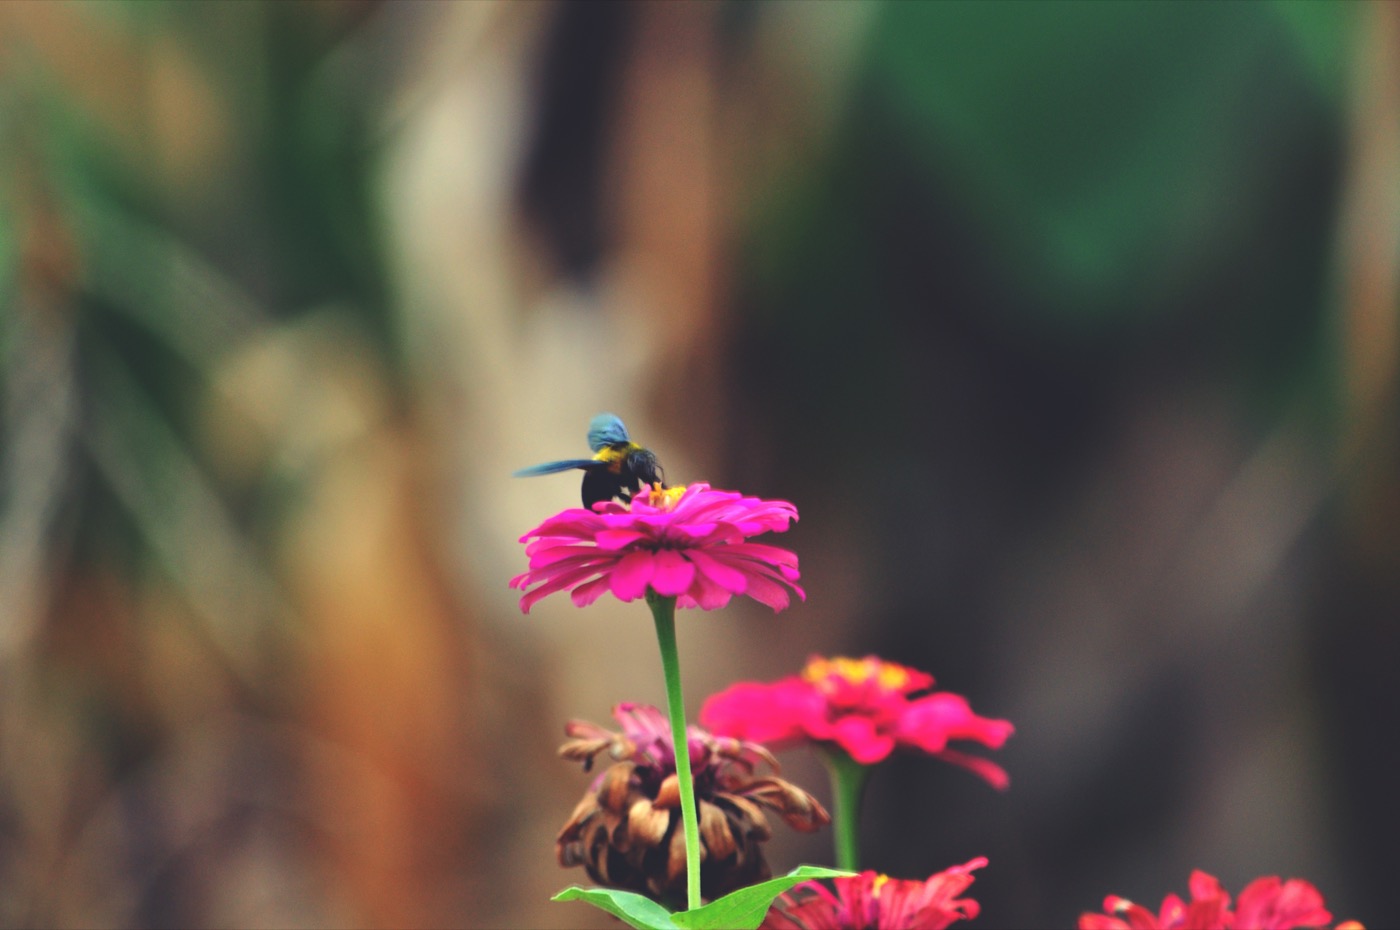
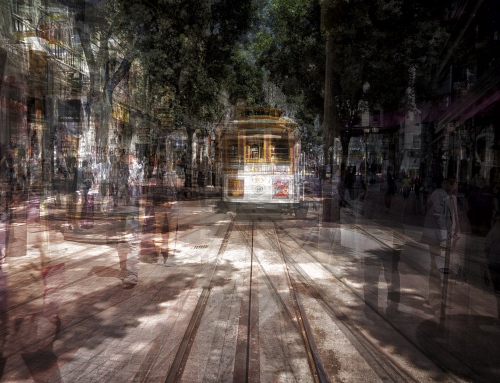
Capture the extraordinary out of the ordinary. Shallow depth of field places the subject primarily at the center of the viewer’s attraction.