Do you find yourself suddenly loving close up macro pictures of insects and spiders on Instagram and other photo sharing sites? Are you still unsure of whether you should invest the money for purchasing a macro lens to start out with macro photography?
You don’t have to drop your hard-earned cash right away. In this post I will share some methods to experiment with macro photography before you decide to acquire that macro lens.

Found this little jumping spider and immediately decided to take some close up pictures. I sat down in the sun for optimal light and placed the little spider on my leg.
The reversal ring
One of the cheapest ways (less than $15) to start with macro photography right away is to purchase a reversal ring. This is what I did, but trust me, it takes a lot of practise and even more patience to get right.
A reversal ring allows you to mount your lens backwards on a camera. You will get life-size magnification, but because your lens elements are no longer talking to the camera, you will have to make your own decisions.
You lose both your aperture control and autofocus and will have to adjust aperture manually (unless you have a lens where you can control this manually) to allow light into the lens. Another aspect to get used to is focus, which you will do by moving your camera closer and further away from your subject. A mere millimetre movement makes a difference, so hold your breath when you press the shutter. If you are in a hurry, you can forget about sharp macro photos.

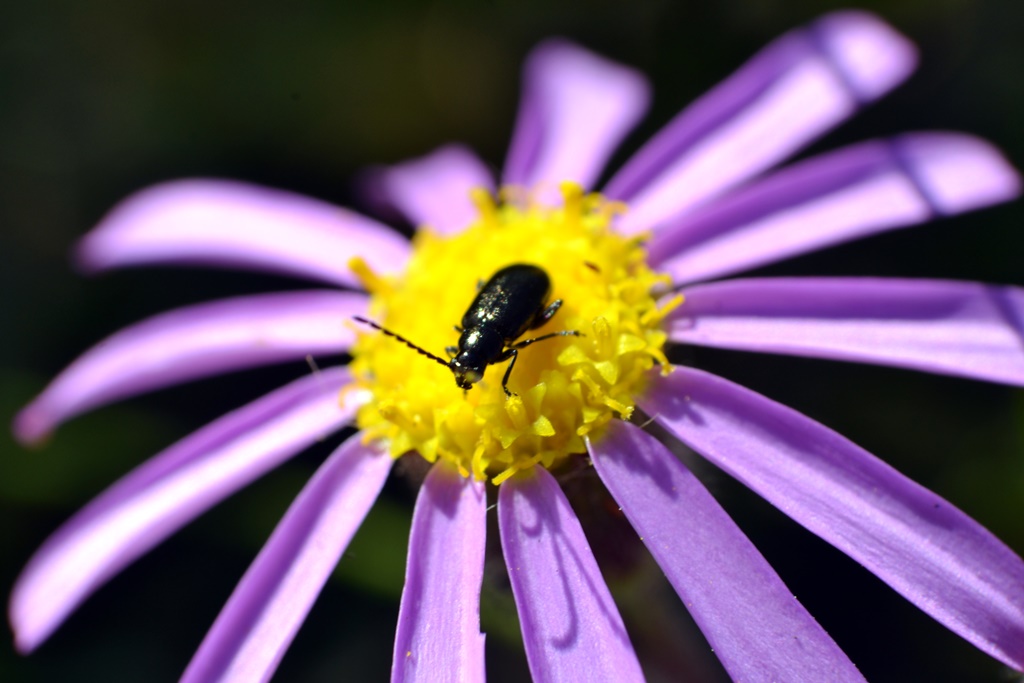
It appeared like a bunch of black spots, but they were moving so I reversed my lens. The results were a close up photo of a bunch of insects on this flower.
This technique works best with prime lenses, so you will get good results with a 50mm lens. Standard kit lenses also work well with the technique. I use my Nikon 18-55mm. They say macro photography is best practiced with a tripod, but I found that I can shoot handheld with this technique, as long as I am not too shaky.
Note that the above is my own personal experiences with the reverse macro technique. With a lot of practise you might even find it much easier, or improve the techniques than I have described.
Depth of field will also be extremely shallow and lighting may be a problem if it is not very bright. Most lenses have an aperture lever, so jam the lever to keep it open all the way.
Word of caution: Your lens elements are on the outside with this technique so be careful not to damage them. Dust can become a problem. Try this technique in bright conditions or use a flash or light to enhance the photo.
Other techniques for close up pictures
There is always more than one way to achieve your desired results when it comes to macro photography. Close up lenses or filters that you screw at the end of your lens allow you to get closer to your subject while extension tubes are another method. More than one of these tubes can be stacked together to achieve even greater magnification. You also get bellows which is like extension tubes, but this collapsible design fits between a camera and lens, allowing the lens to be moved even further from the camera. If you feel adventurous, you can stack lenses together. Generally, a lens with a longer focal length is attached followed by a shorter prime lens. They say that a 300mm lens with a 50mm lens will produce 6:1 notification, though it is not something that I have tried just yet.
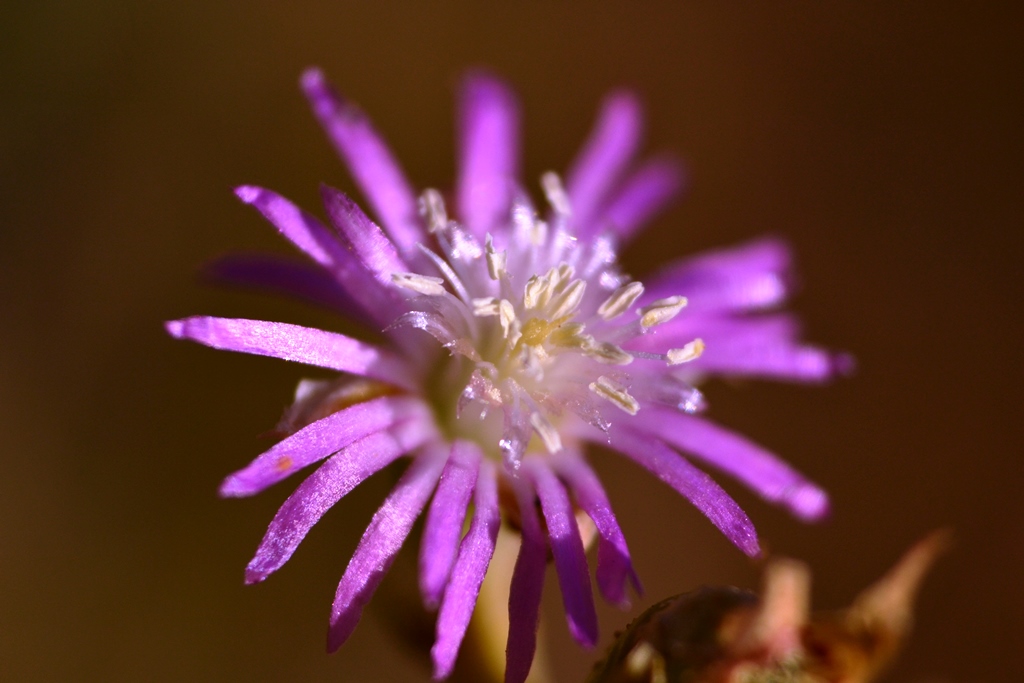
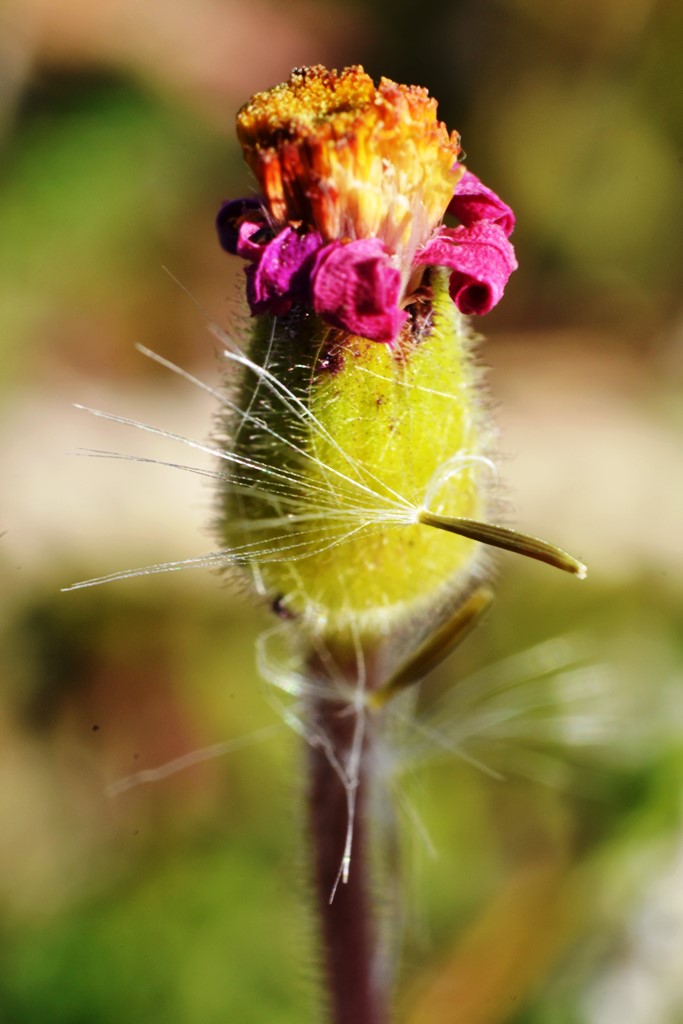
This miniature flower was the size of my thumb nail. I just love how the sun rays reflect from the petals.
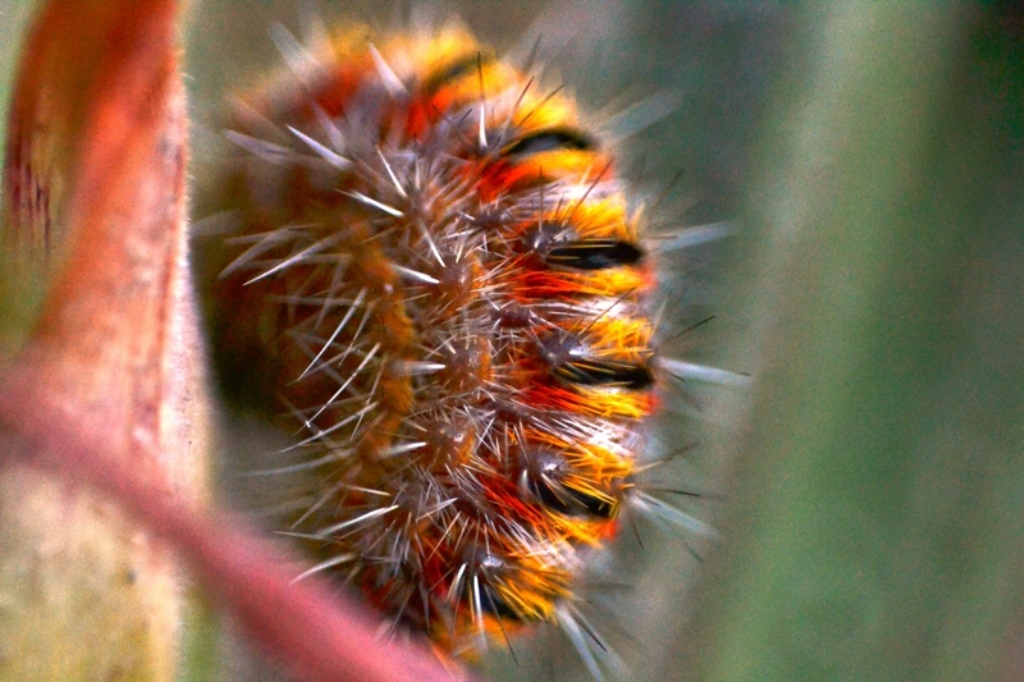
I always see what others miss. This small hairy worm was hidden next to the flower. I once again captured it with the available light and without the use of a macro lens.
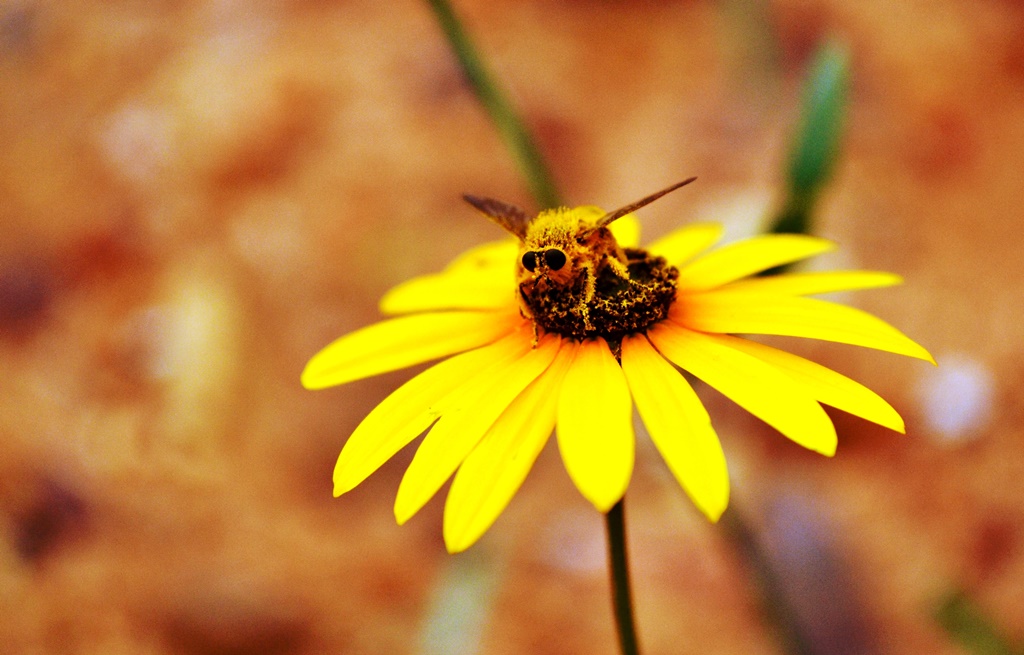
Macro photography allows you to see the smaller details. I just love this one’s little face! I sat down on the ground next to the road when I spotted this fluffy-looking creature and snapped away.
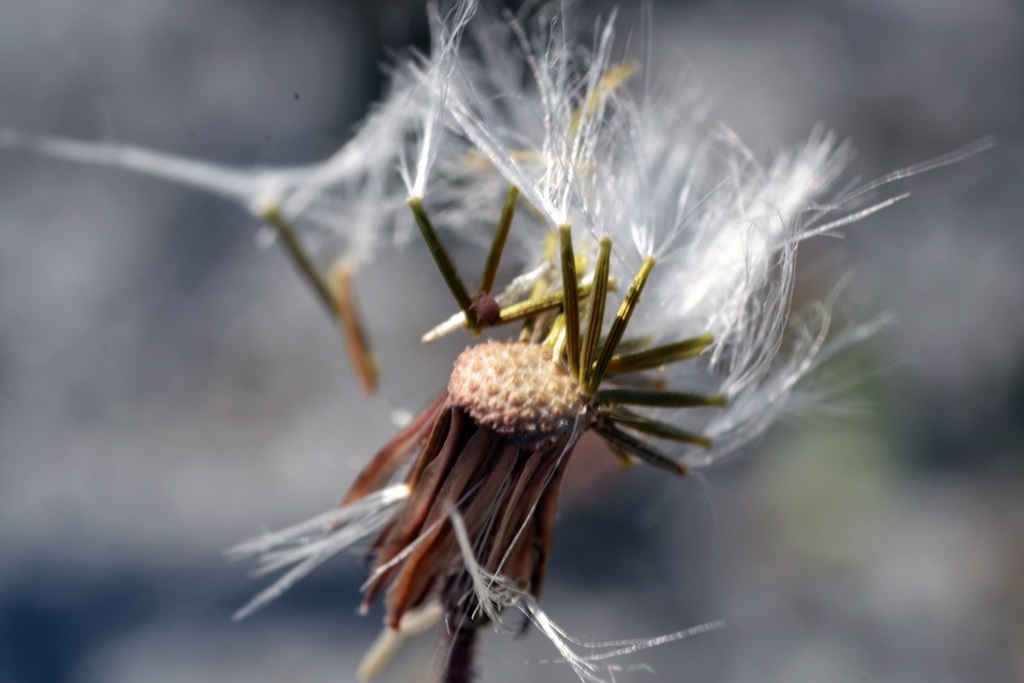
Yes, macro photography will showcase the beauty in death, the fascinating opportunities in the mundane, without a macro lens.