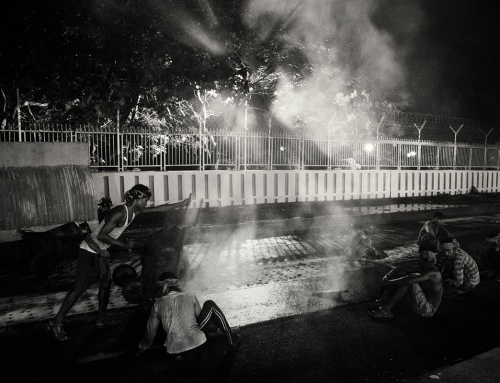
Smartphone photography is a big thing now. People do take photos from a phone seriously, and even hold competitions for it. But with thousands of selfies and alleged-candids and colourful landscapes flying around, a nice simple photo can really set you apart. A camera is just a tool, and it really depends on you – the photographer – to make the image. So, here I am to tell you a few simple tips and tricks to make your smartphone photography a whole lot better.
Focus on your subject
I mean this both literally and figuratively. If your subject is a nice autumn tree, make sure you have focused on it. You don’t know how many people forget to actually tap their phone screens and use the autofocus. Don’t simply point and shoot. Focus first!
Also, if the tree is behind a friend of yours or a taco truck is blocking your view, you have not really focused on your subject. You should try to make sure that the eye of the viewer is drawn to the subject and that the subject is emphasized properly. Decluttering your frame is super important.
Move around
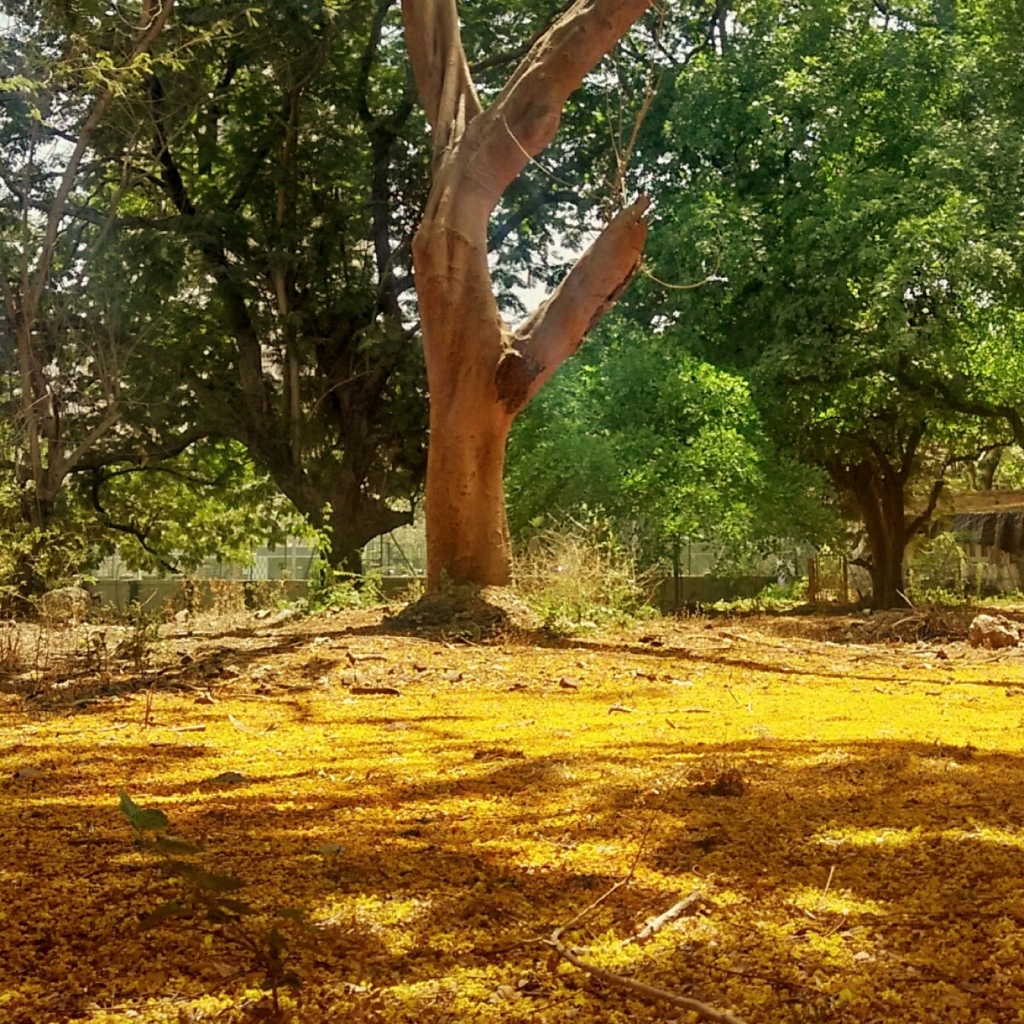
Don’t always take out your smartphone and shoot whatever is on the screen. Move around and see if there is another perspective that makes your subject stand out, or some foreground interest that leads up to the subject. For example, the following image was taken when crouching, which allowed more of the yellow leaves to come into the frame.
No zoom, only crop
Because our smartphones do not have optical zooms, they use digital zoom, which is simply adding more pixels to make something which is already there bigger. Don’t do that. Take the photo without zooming. Try to move around and find a better vantage point, and later, crop if necessary. Even a 5 megapixel phone has enough resolution to let you crop significantly and retain a lot of detail.
Remember the Rule of Thirds and Leading Lines
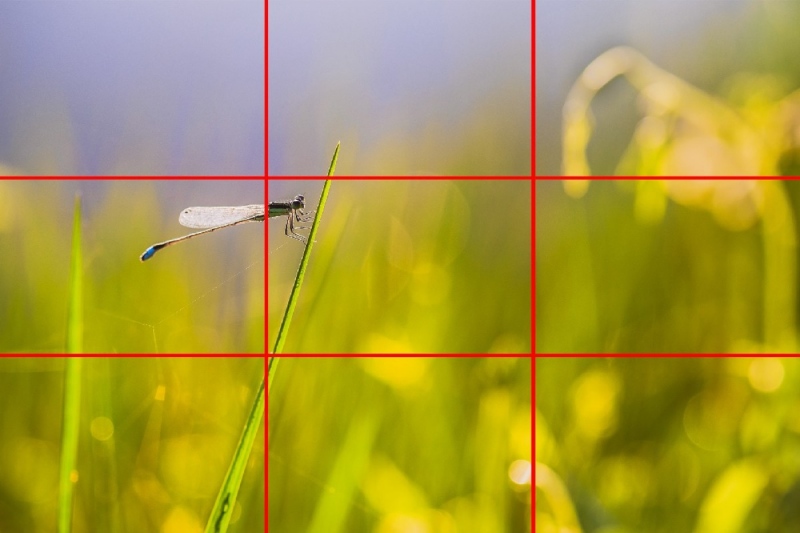
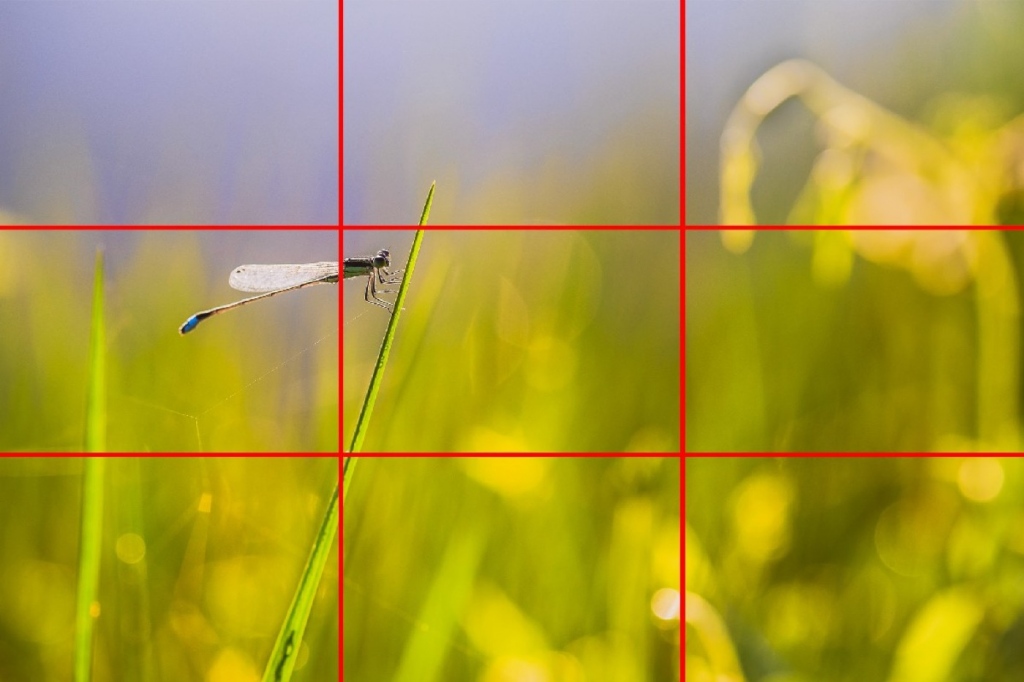
Though they are not used in every single photo, these rules will almost always make an image more pleasing. The basic gist is to not always keep your subject in the dead center of the frame. Keeping it in one of the corners or to the side adds depth to the image and lets the viewer’s eyes move around the space. Also, leading lines are visual marks – like a road going into a forest – that lead the eyes of the viewer across the frame and right to your subject. Be a lookout for such marks and use negative spaces around the subject.
Use the sun and the shadows
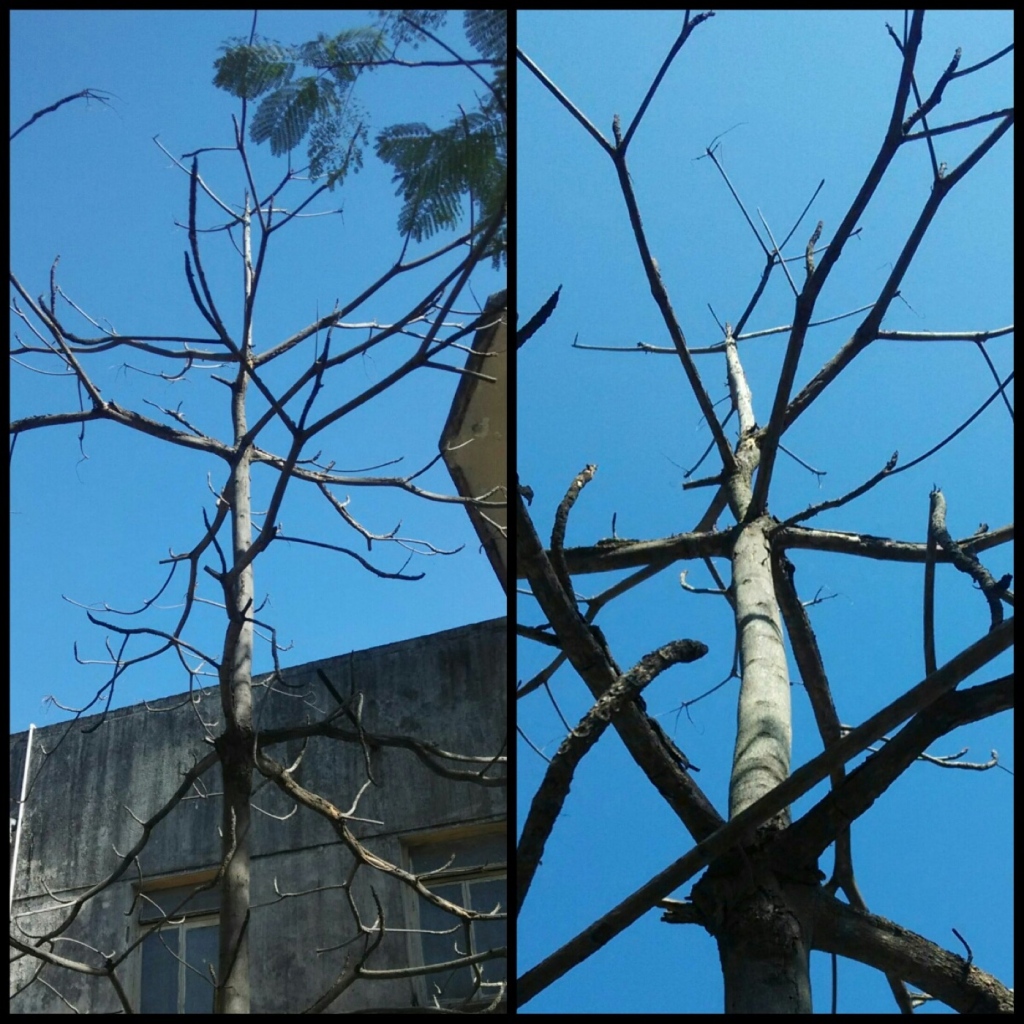
Photographers will usually say that the early morning and evening light is the best for photography. But it is not always necessary. Sometimes, harsh sunlight and pitch black shadows will give an amazingly dramatic and contrasty image. Such photos even make for a beautiful black and white image, where the light and the shadows bring out interesting patterns. In the example image below, moving under the tree and pointing right up at the sky allowed for a much more punchy image.
No more phone flash
Sure, it makes for a handy torchlight in case of emergencies. But do not expect it to light up the whole scene and give a perfect exposure. All smartphone flashes do is give everyone a red eye, add a horrible white reflection and leave all the colours washed out. Instead, use the HDR mode of your camera and also increase the brightness when focusing. For example, in an iPhone, when you tap to focus, there is the symbol of a sun, which can be dragged up to increase exposure levels.
Frame your subject if possible
Sometimes, an open window or an old wooden door can make for an interesting element in your image. Using natural elements to frame your subject and give it more emphasis is something a lot of photographers tend to overlook. You should always take a second before clicking the shutter to see if there is something you can use to remove surrounding distractions and focus on your subject.
Look out for repeating shapes, lines and textures
It is not always that gorgeous sunsets and clear blue waters give the best photo. It can also be something very simple – like the bark of a tree, or an old dried leaf with a web-like pattern. Shapes and patterns can be even more important than colour, as they are elements people often don’t notice. For example, the image below is a simple monochrome of a man’s feet. Gross, I know, but very effective as a unique subject.
Take less photos and edit the ones you have taken
Keep it simple and don’t just keep shooting whatever you see. Take your time and enjoy the shoot. Later, you will have the time to review all images properly and edit them. One more thing, editing does not mean using Instagram filters. Use apps like Snapseed to enhance colours, sharpness, brightness, contrast and white balance.
Visualize and practice
This one actually goes along with the previous one. Even though you should not shoot everything, you should also not loose an opportunity to take a photo. Take out your smartphone, try to imagine what you want the photo to look like, and then click the photo.
This is all, folks!
There is not much that is needed for good smartphone photography. A unique perspective, a little bit of imagination and a simple composition. Keep these tips and tricks in mind the next time you take out your camera and get ready to take a photo. Happy shooting!
