Let’s talk about using fill cards in Food Photography… They are also called reflectors and make all the difference! Imagine that you are shooting with natural light from some source like a large window in the kitchen. Even though the light is perfect, it’s coming from just one side and the shadows on your subject are coming out too hard. What could you do to solve that before using any edition software or artificial light? Fill light is the answer!
What is a light reflector made of?
Fill cards can be anything that reflect light and allow it to be bounced to any side. They can be a single white paper sheet, an open notebook or a white paper card. It is preferred to be a white color because of the reflection principles. White is the union of all colors, this way, a white card will reflect more light variations, while a blue card, for example, would reflect only blue light.
Other alternatives that also work in some cases are metallic surfaces, like aluminum foil or the back of a baking sheet. It might look great or not, depending of the light source, composition and subject you have. The difference is that metallic surfaces will not cause light to be diffused and softer; it will reach the subject with total power and more directed. White surfaces tend to spread it evenly. Experimentation when using fill cards will be needed!
Actually using Fill Cards
If you are using artificial light, a light reflector can be really helpful as well. With just a single source and one or two fill cards, the subject can get enough lighting to look great! It’s a tricky for getting the best from your equipment and available tools. There are photographers who don’t enjoy filling shadows by using fill cards, but it’s all up to the style you seek to follow.
To place the fill card inside the set you need to choose a location that the light will be improved and well distributed. Take care to don’t cover any lighting from the source. Perform movements and test the position until you find the best choice. There is the option to hold the card when performing the shoot or using an object to secure it. Sometimes I use longer exposure times and holding by hand might cause notable variations that will result on a blurry image. By the other side, using your hands allow to direct light better. It’s all about occasion!
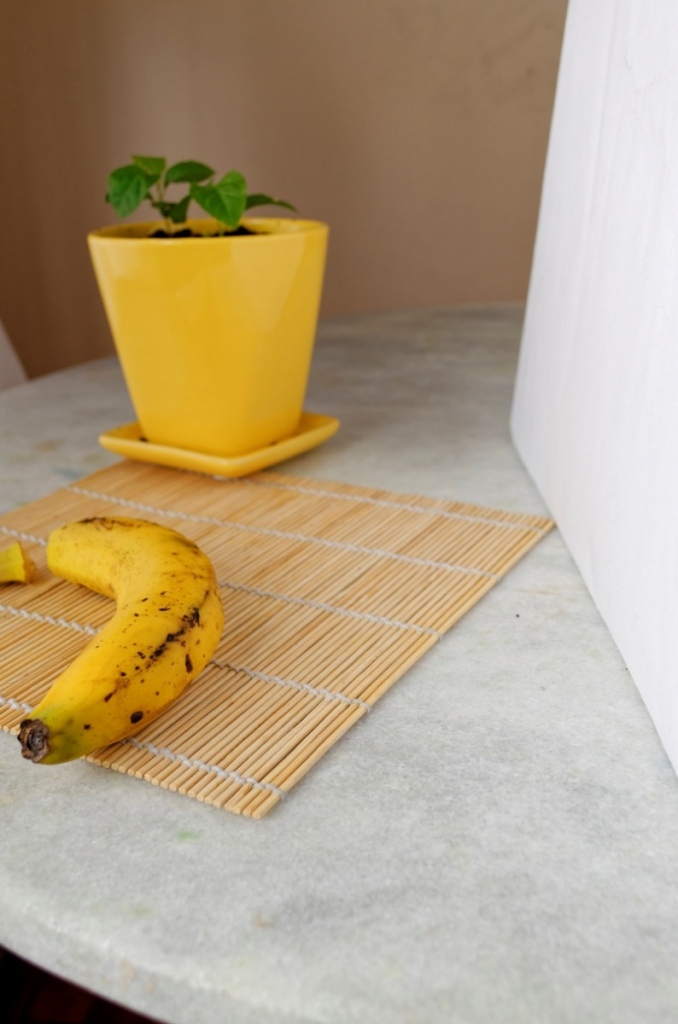
See the example below of a basic photography setup using a fill card. This fill card was built with a large sheet of white card paper, cardboard and adhesive tape.
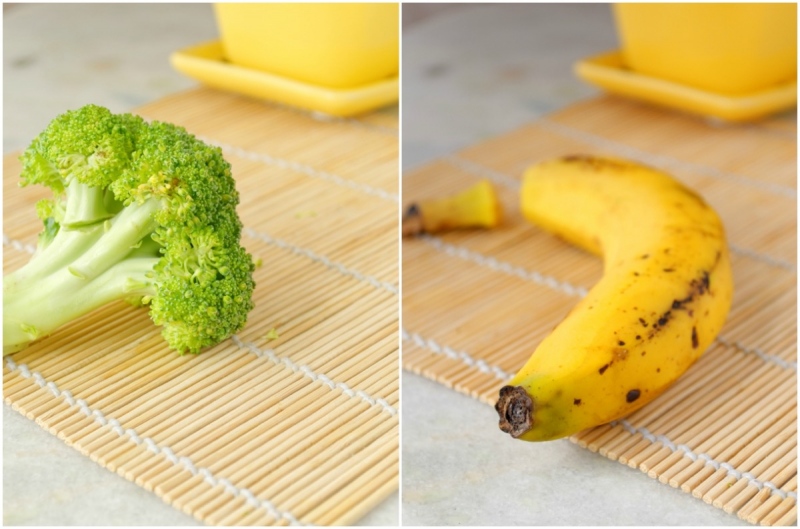
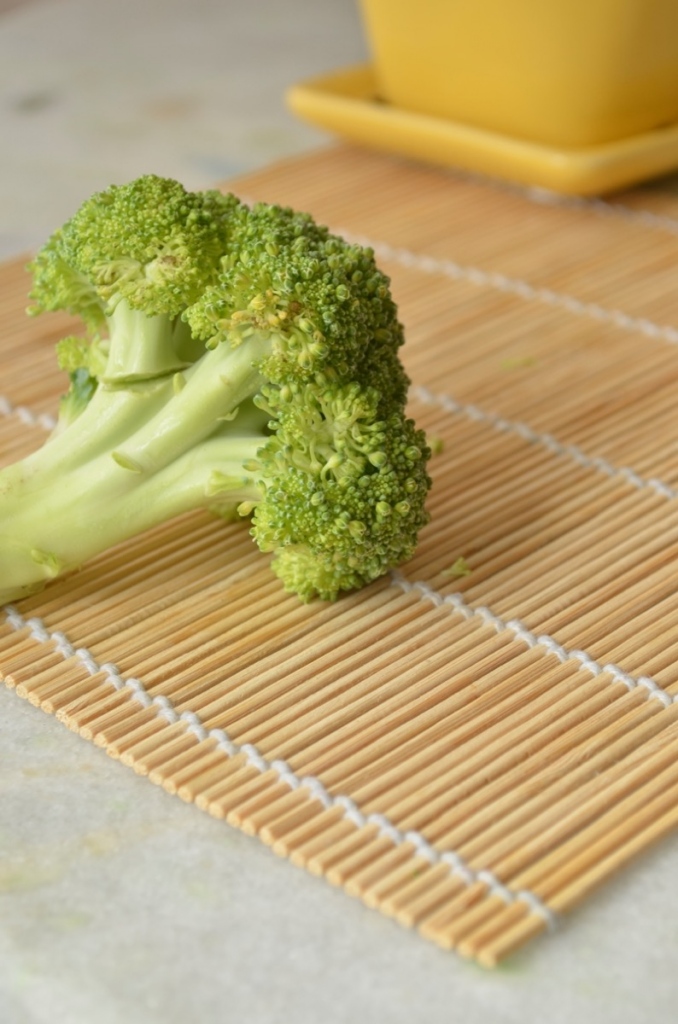
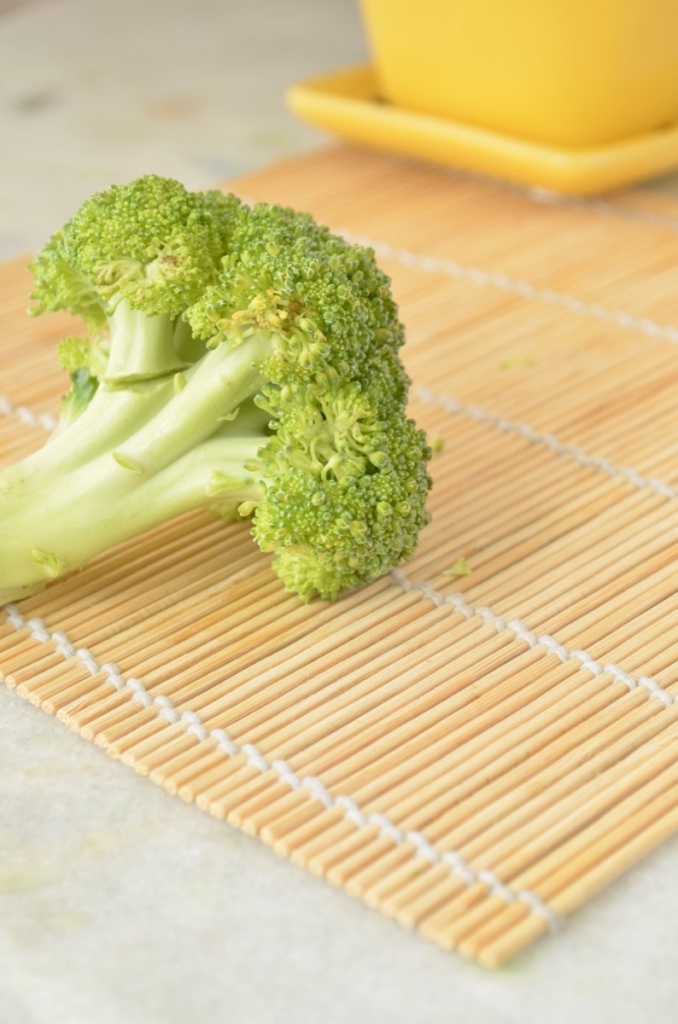
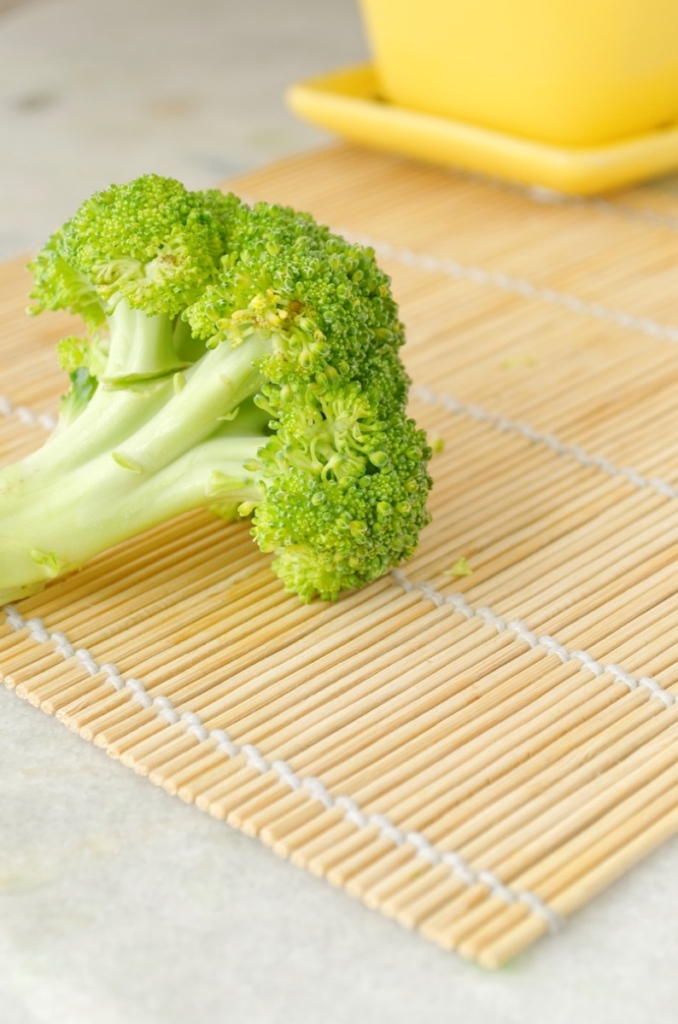
I’ve shoot two different subjects to showcase the difference that a simple Fill Card can produce. In the image below, there’s a broccoli floret reached only by the light from the window (first image) and with the use of the fill card (second). A cloud has moved, but you can truly notice how the shadows changed.
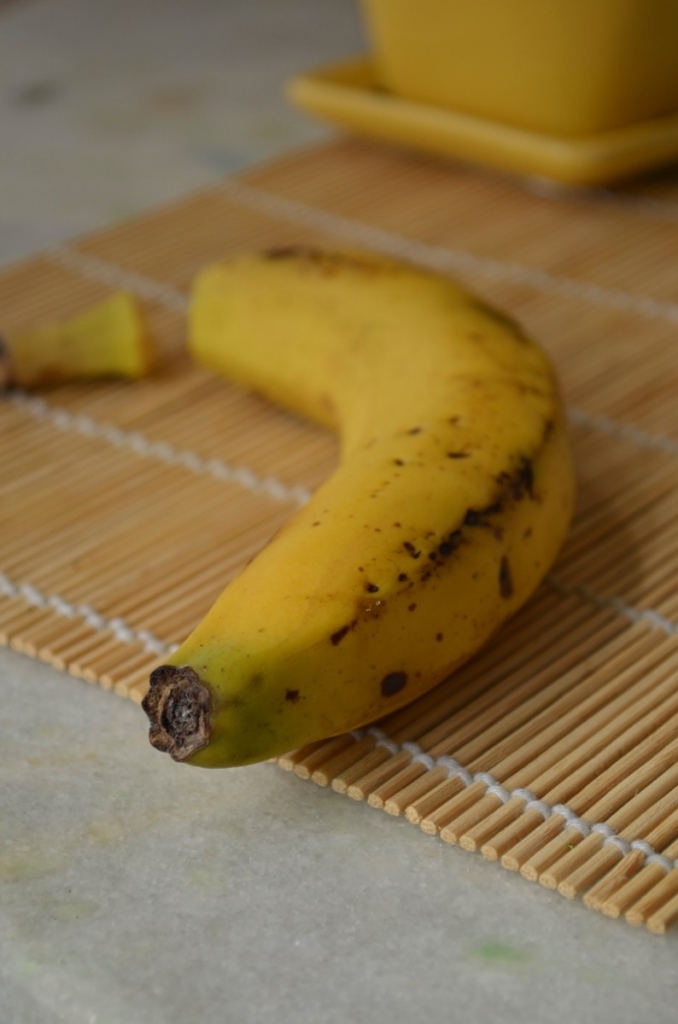
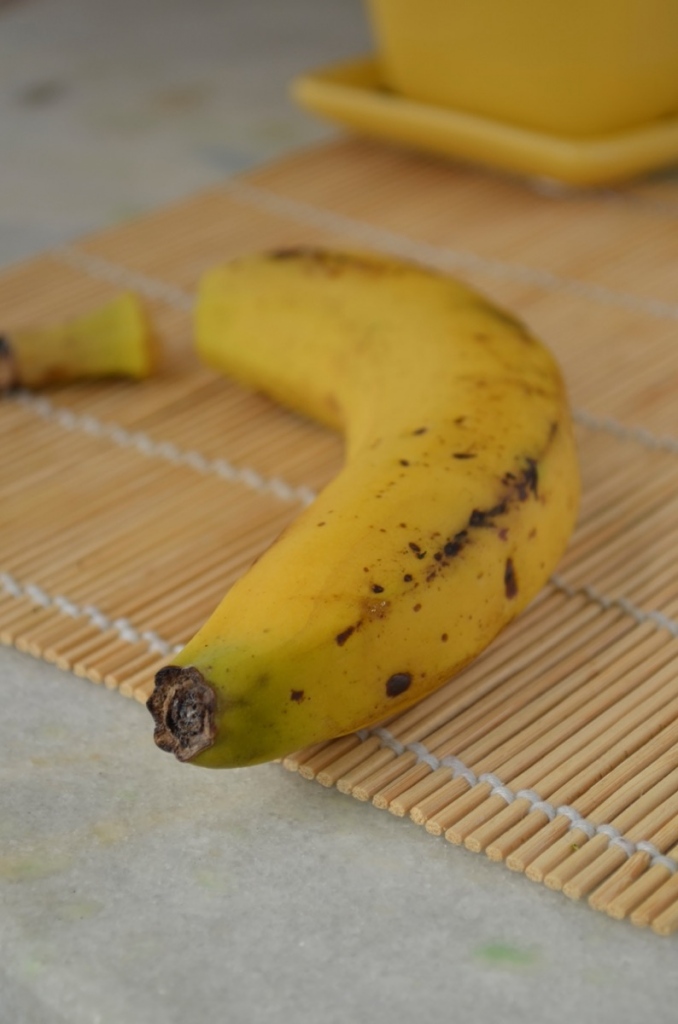
The other example is with a different color, yellow. See how the shadows decrease. The fill card was used in the second picture of the banana. None of these images went through treatment softwares after the processing by the camera. The aperture, ISO and shutter speed were kept the same in both cases.
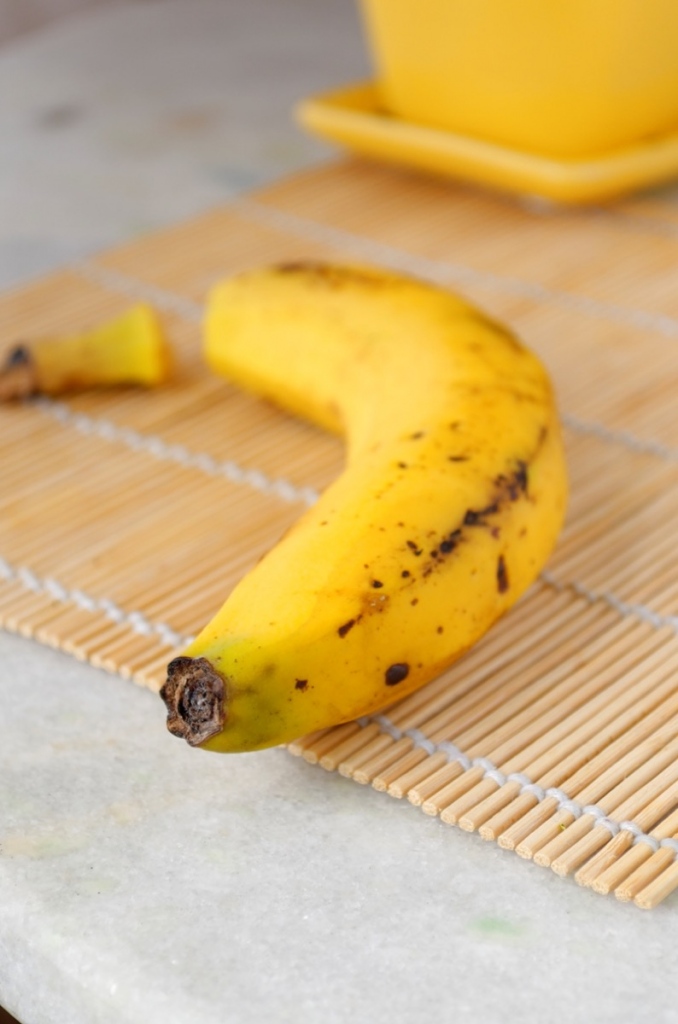
So, Fill Cards can be a powerful tricky for you to use and discover. Grab a white paper sheet and give it a try! Using fill cards is easier than it looks like! This post is not about post production, but I thought it would be nice to share with you the final images after some manipulation:
